
Last updated November 14, 2026
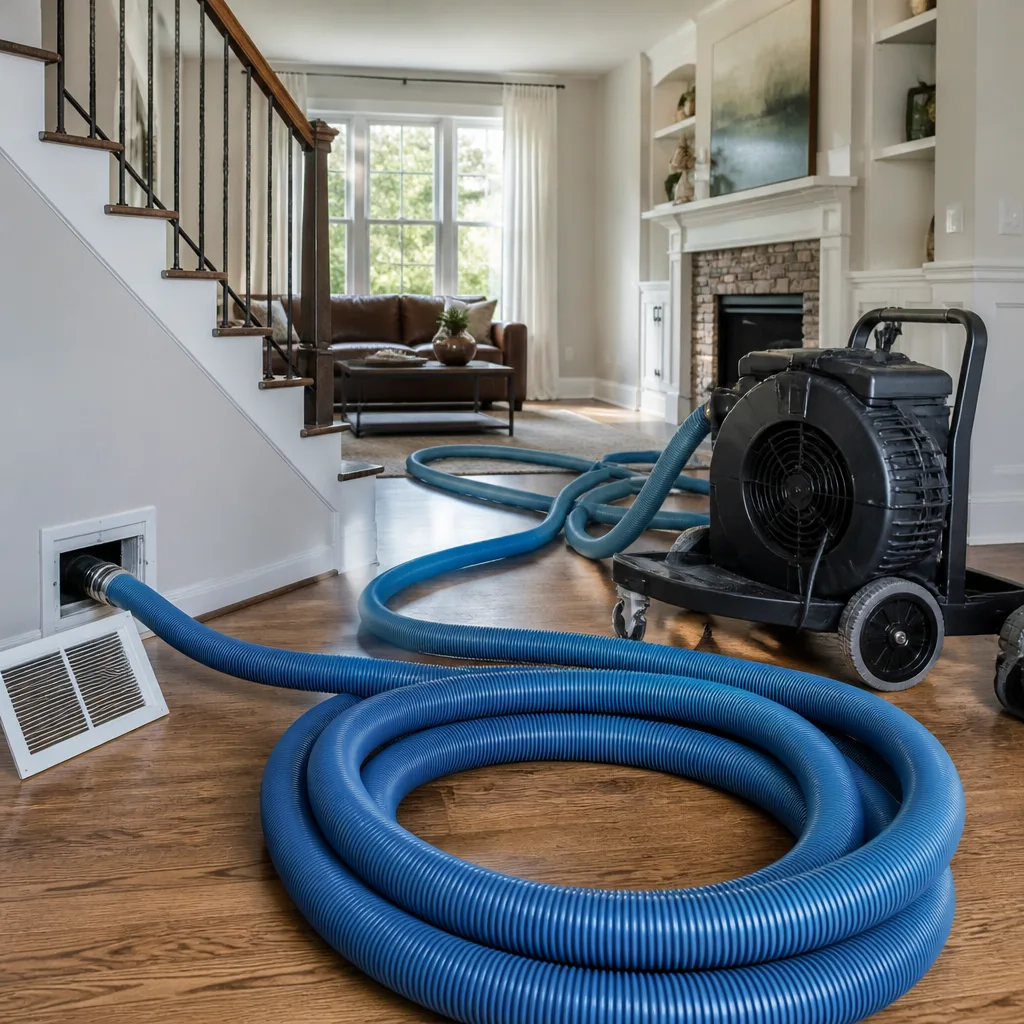 Whole-home duct cleaning
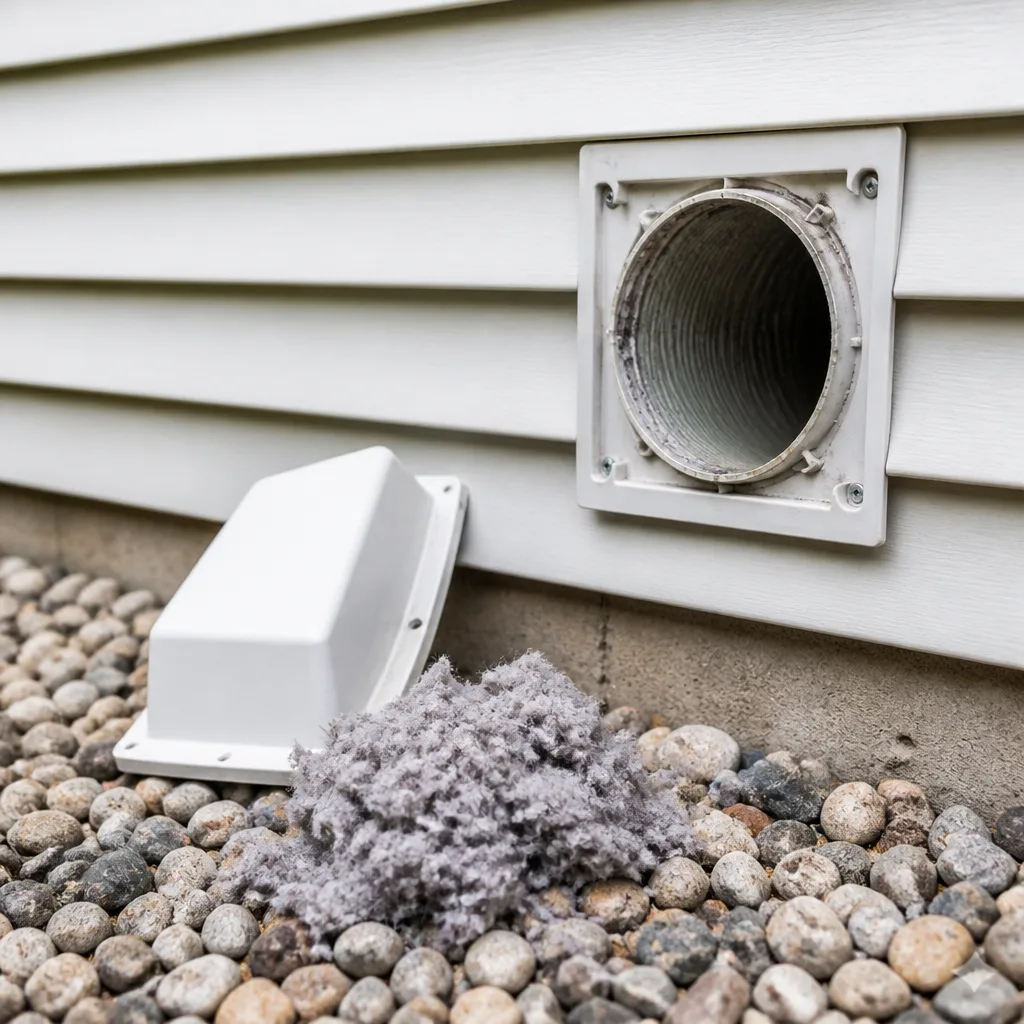 Dryer vent cleaning
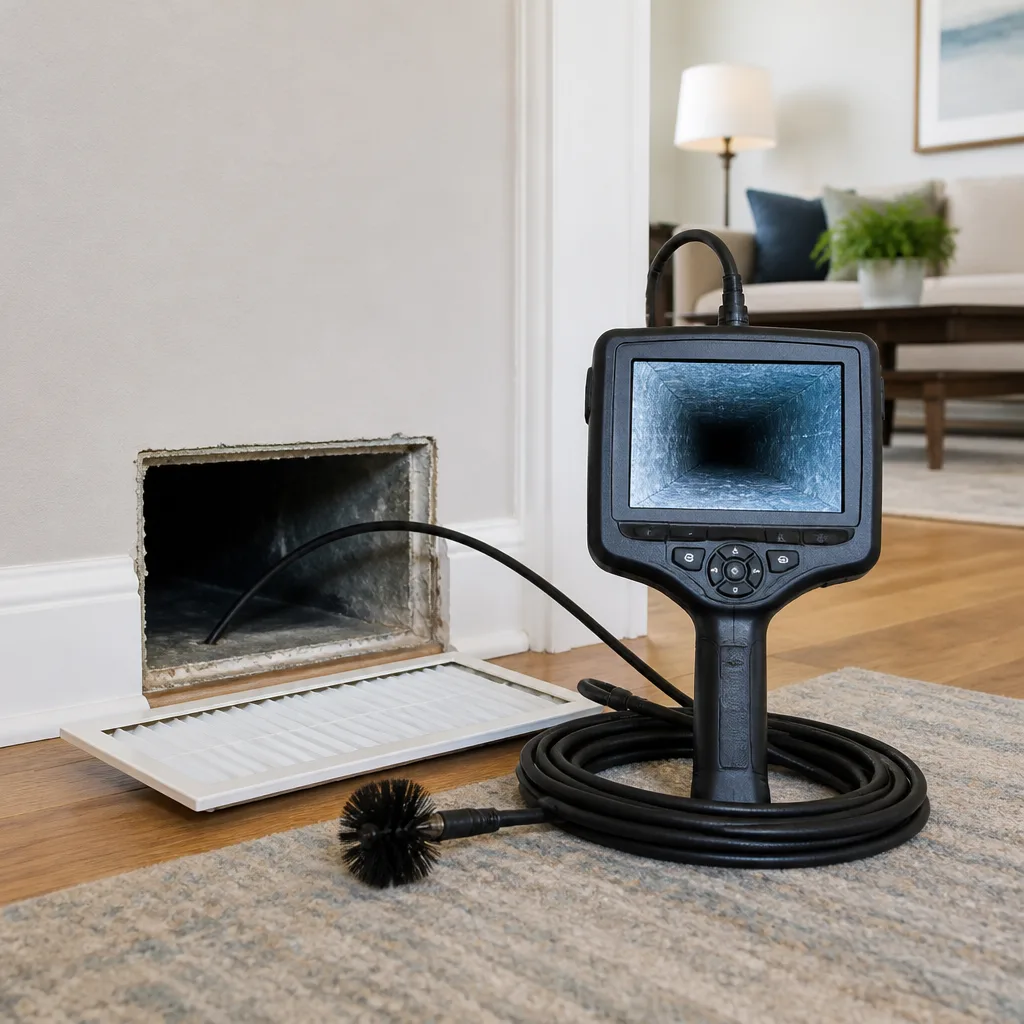 Camera inspection
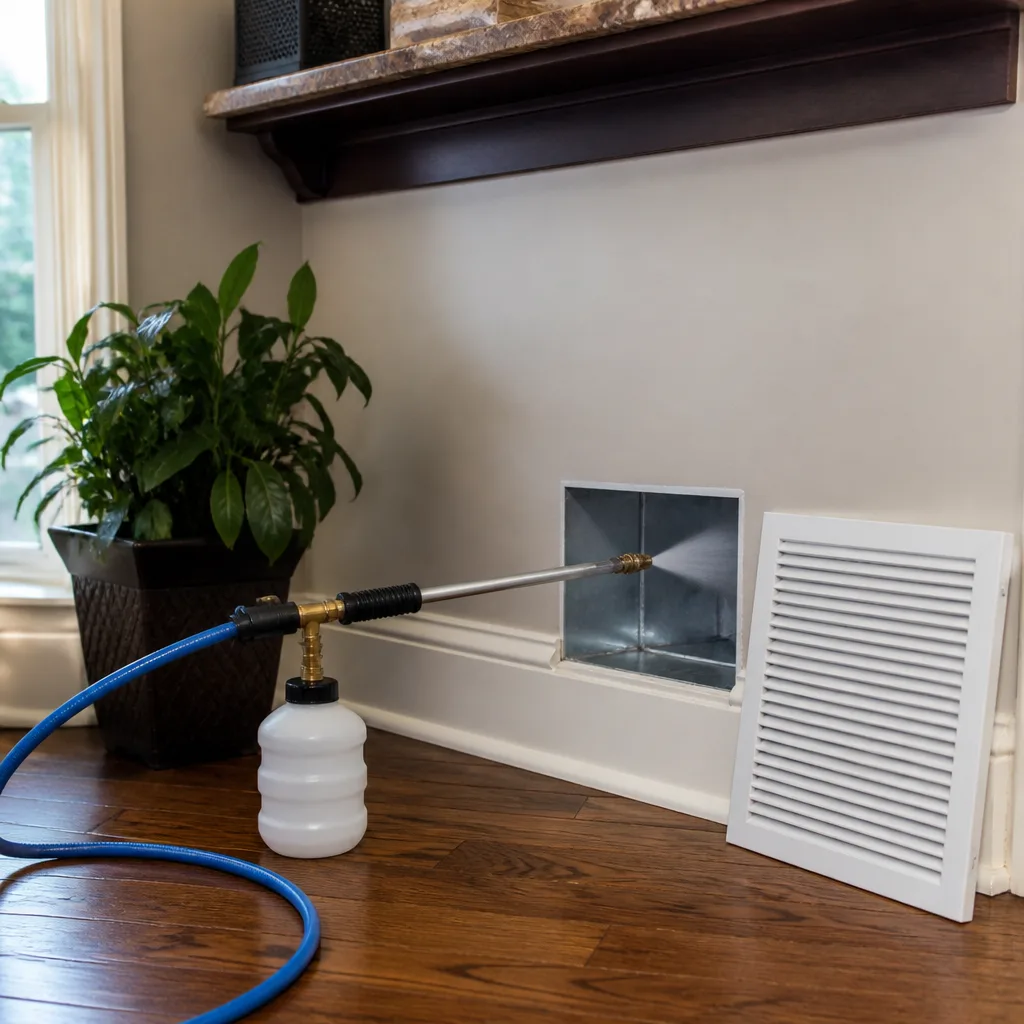 Sanitizing & deodorizing
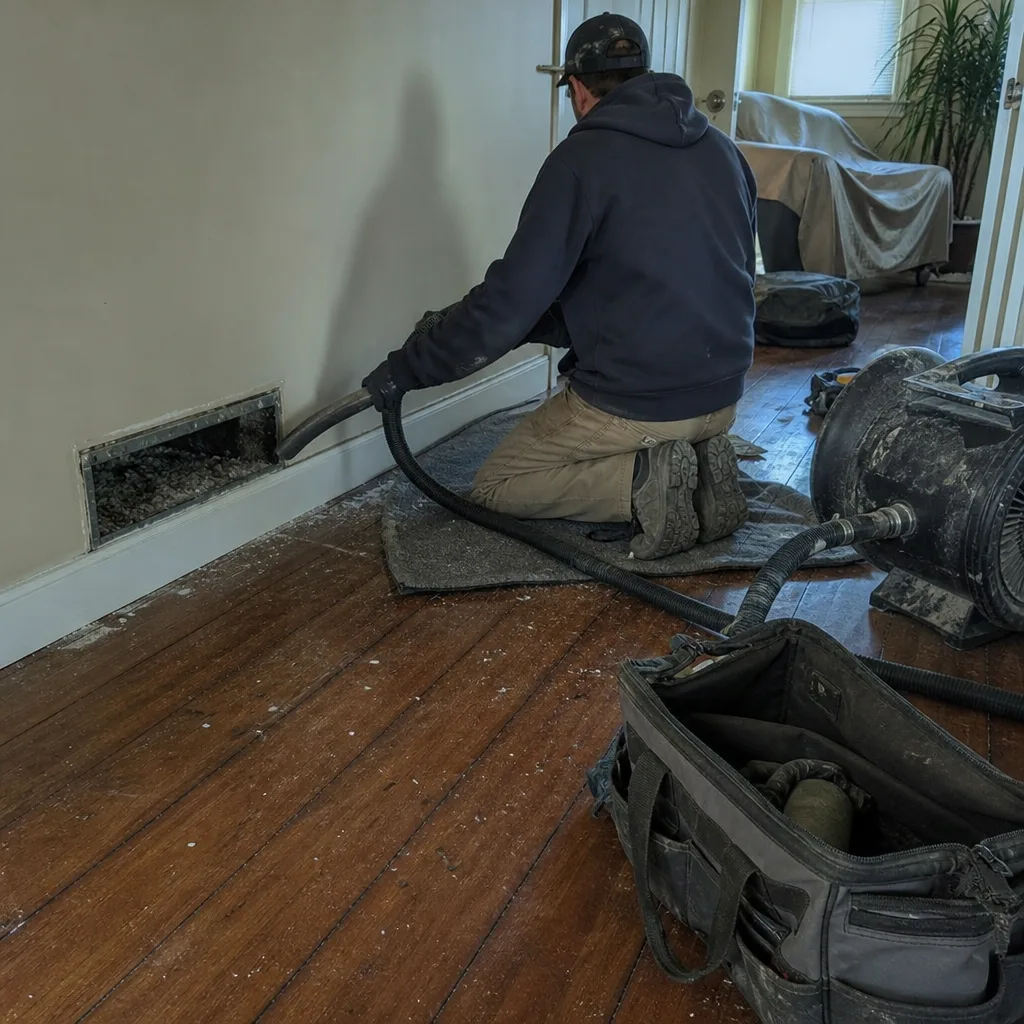
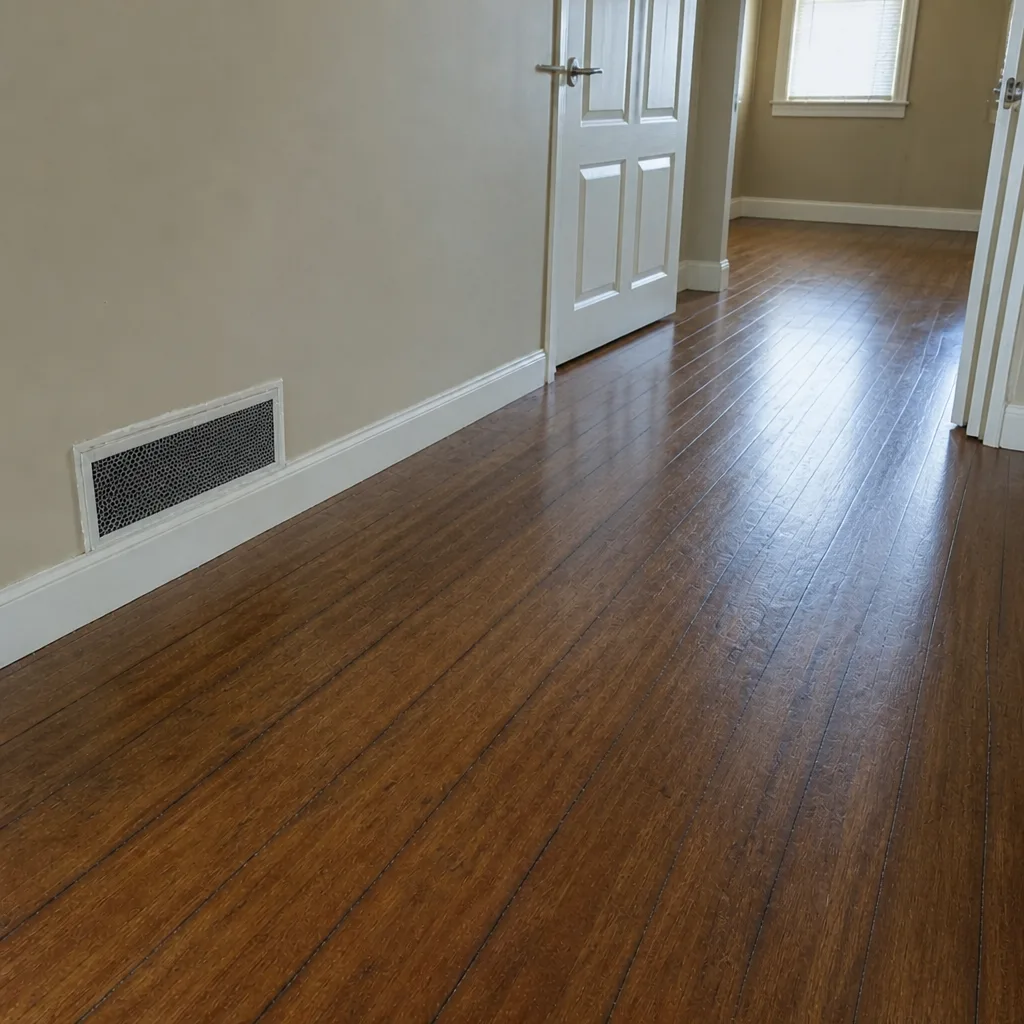
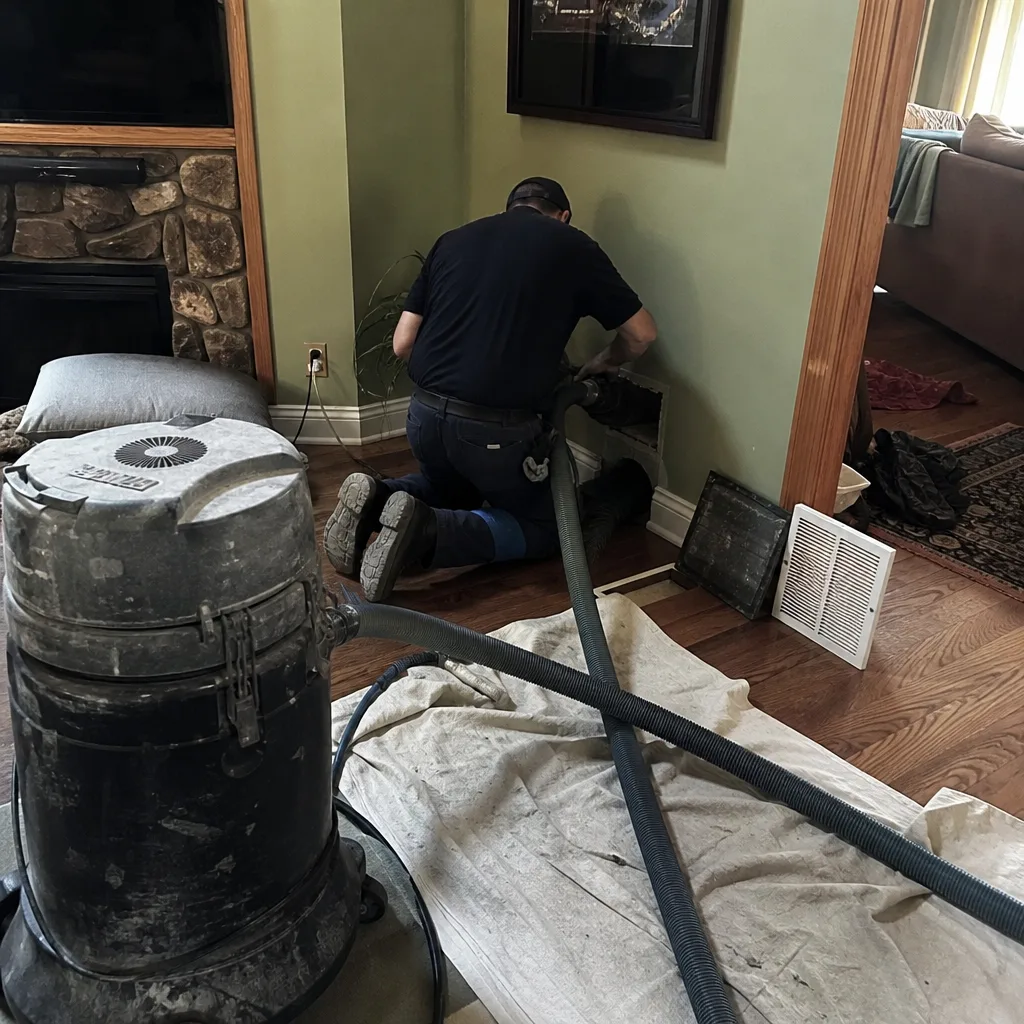
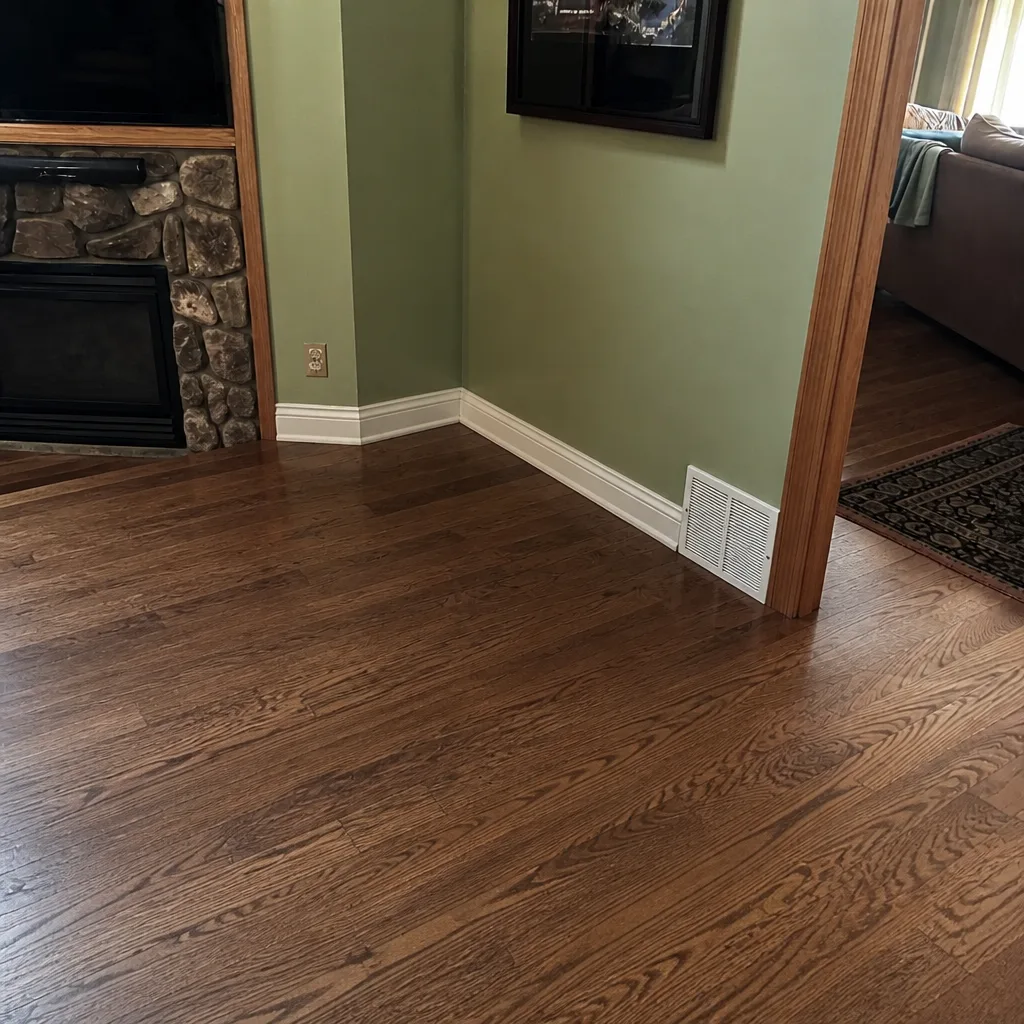
Whole-system duct and dryer vent check with before-and-after photos - you see exactly what came out of your vents
That "$99 whole-house special" is a bait ad - the real number appears once they are in your hallway, or the "clean" is a shop-vac at the register. We photograph the inside of your ducts before and after instead.
DIY vs Professional Air Duct Cleaning: The Kansas City Homeowner’s Decision Guide
Most homeowners compare DIY and professional duct cleaning on price alone. That’s the wrong yardstick. The real difference is a capability ceiling: a rented duct cleaning kit pulls roughly 150 to 300 CFM of suction, while professional truck-mounted equipment runs 10,000 to 16,000 CFM. No clever attachment or extra elbow grease closes that gap, because it’s a physics constraint, not a skill gap. This guide shows you what consumer tools can actually accomplish inside a Kansas City home, where DIY makes sense as an interim measure, and which situations only professional equipment and containment can handle.
Quick Answer
For light debris at a single floor register, post-renovation dust near a branch termination, or routine dryer vent lint, DIY is reasonable. For anything that requires cleaning the trunk lines, the plenum, or the duct wall surfaces themselves, consumer equipment can’t build enough suction or containment, and a DIY attempt can push contamination into the airstream rather than remove it. In those cases, professional cleaning is the only method that actually finishes the job, and that’s especially true in older Kansas City homes with deteriorating duct board liner.
Styles & brands we work with
- Whole-home duct cleaning
- Dryer vent cleaning
- Camera inspection
- Sanitizing & deodorizing
Table of Contents
- The Capability Ceiling: What Consumer Tools Can and Can’t Do
- The Three Levels of Duct Cleaning (and Which One You’re Doing)
- Where DIY Is a Reasonable Interim Measure in Kansas City
- Why DIY Can Redistribute Contamination Instead of Removing It
- The Documentation and Liability Gap
- The Decision Matrix: When It’s DIY and When It’s Professional-Only
- Kansas City Climate, Housing, and Duct Systems
- How a Professional Duct Cleaning Visit Actually Works
The Capability Ceiling: What Consumer Tools Can and Can’t Do
Picture a typical rented or borrowed duct cleaning setup: a shop vacuum with a rotating brush attachment, a hose long enough to reach the first boot or two, and whatever suction the motor produces. That’s roughly 150 to 300 CFM at the wand tip. Professional truck-mounted or high-capacity portable units used with Millbrook Air Duct Cleaning equipment generate 10,000 to 16,000 CFM and pair that airflow with negative-air containment so loosened debris is captured instead of blown into living space.
What consumer gear can do:
- Lift loose dust and hair from the first few inches of a register boot.
- Clear surface debris at a branch termination that’s easy to reach.
- Pull lint out of a short, straight run of dryer vent.
What it physically cannot do:
- Reach into long horizontal trunk runs with enough velocity to scour duct walls.
- Contact-vacuum the duct interior where dust has bonded to metal or flex liner.
- Create negative pressure that keeps dislodged particles out of the airstream.
- Clean the plenum or the area around the air handler, where contamination concentrates.
The gap isn’t a matter of patience. Even if you spend a full day at it, a 150 CFM vacuum won’t move material that a 10,000 CFM system pulls out in seconds. That’s the ceiling, and it’s the single most useful thing to know before you decide whether to rent or call.
The Three Levels of Duct Cleaning (and Which One You’re Doing)
Duct cleaning isn’t a single thing. It happens at three distinct levels, and DIY lands almost entirely on the first one. Understanding the levels makes the decision much clearer.
Level 1: Register-Level Debris Removal
You remove the grille, reach in with a vacuum or brush, and clean the first stretch of the boot. This is what consumer tools are built for, and it’s a legitimate maintenance step when a register is visibly dusty or has collected pet hair.
Level 2: Branch Line Cleaning
Each supply run between the trunk and the register gets cleaned along its length. This requires enough suction to pull material through the full run and a brush sized to the duct interior. Some professional portable units reach this level; rented equipment almost never does.
Level 3: Trunk Lines, Plenum, and Contact Vacuuming
The main trunk, the plenum above or beside the air handler, and the duct wall surfaces themselves all get cleaned under negative pressure. This is where commercial air duct cleaning equipment earns its keep and where most of a home’s accumulated contamination actually lives. If your goal is a clean system rather than clean grilles, you’re at Level 3.
Where DIY Is a Reasonable Interim Measure in Kansas City
We’re not going to tell you that DIY is never worth doing. There are specific, honest scenarios where a homeowner with a shop vacuum can solve a small problem without a full professional visit. Here’s the short list.
- Single-room register maintenance. A bedroom register that collects dust faster than the rest of the house can be cleaned from the grille side with a vacuum and a soft brush. Do that between professional visits without guilt.
- Post-renovation debris at branch terminations. After drywall work in one room, sawdust often collects right at the boot behind the register. Vacuum that up before it gets pulled deeper into the system.
- Dryer vent lint clearing between professional visits. The short, accessible section of dryer vent pipe behind the dryer can be cleared with a vent brush, and this is genuinely worth doing because lint buildup is a fire hazard. For full-length runs, transitions, and exterior terminations, schedule dryer vent cleaning so the whole path gets cleared, not just the easy end.
- Return air grille dust. Return grilles pull hair and dust fast. Vacuuming the grille face is quick, safe, and helps airflow.
Notice what’s missing from that list: trunk lines, plenums, duct walls, and anything that requires negative pressure. Those are the jobs consumer tools can’t finish, and doing them halfway can leave your system worse off than if you’d left it alone until a pro could handle it.
Why DIY Can Redistribute Contamination Instead of Removing It
Agitating debris without capturing it is the most common DIY failure, and it matters most in Kansas City homes with duct board liner. That rigid fiberglass material is common in mid-century and later builds, and when it deteriorates it sheds fibers and traps dust in a way that sheet metal doesn’t. A spinning brush or high-pressure air nozzle loosens that bonded layer and sends it straight into the airstream. Some of it lands in a room. The rest travels further into the system.
A professional setup solves this with containment. Negative-air equipment from Abatement Technologies, used alongside Rotobrush and Nikro cleaning tools, keeps the duct under slight vacuum while work happens, so the dislodged material is pulled into a collection system instead of pushed into your living room. That’s the practical meaning of “contaminants captured, not just loosened.”
In our experience, the homes where DIY does the most harm are the ones where the ducts look fine from the grille but the trunk is full of loose dust, pet dander, and degraded liner material. A homeowner agitating the system from one register can’t see the plume of material they’ve moved. They find out later, when the dust settles on every horizontal surface in the house.
The Documentation and Liability Gap
If you clean your own ducts, you have no record of what the system looked like before or after. That gap matters more than most homeowners expect, in three specific ways.
- No pre- and post-visit air quality record. Professional cleaning with before-and-after photos gives you a documented baseline. That’s useful for allergy management, useful for insurance if a future issue comes up, and useful when you’re selling a home.
- No damage discovery documentation. Duct cleaning sometimes turns up disconnected runs, crushed flex pipe, gaps at joints, or torn duct board. A professional visit documents what was found so it can be repaired correctly. A DIY pass just doesn’t see most of it.
- No independent assessment of duct system integrity. A trained technician evaluates whether the system can handle the cleaning at all, how the air handler is set up, and whether existing filtration is doing what it should. That assessment is the real product of the visit, not just the suction.
This is also where air duct repair enters the picture. If a professional finds a gap at a joint during cleaning, the fix can happen in the same visit. Millbrook Air Duct Cleaning offers air duct repair as a named service, which means one call covers both cleaning and any damage found along the way. A DIY-only approach leaves you calling a separate contractor to reopen the system later.
The Decision Matrix: When It’s DIY and When It’s Professional-Only
Use this matrix to sort your situation. If more than one “professional-only” line applies, that’s your answer.
Home age and construction
- DIY-appropriate: Homes under roughly 15 years old with clean flex duct and no signs of liner damage.
- Professional-only: Older Kansas City homes with duct board liner, galvanized trunk systems with visible rust, or anything that’s been through a major renovation. Kansas City’s older neighborhoods have plenty of both.
System configuration
- DIY-appropriate: One or two short branches you can reach from a register.
- Professional-only: Long trunk runs, multiple zones, a system with a plenum hard to access, or a home with a whole-home humidifier or air cleaner that needs to be cleaned around carefully.
Contamination type
- DIY-appropriate: Light surface dust, a bit of construction debris at one boot.
- Professional-only: Pet dander throughout, visible debris in the return, degraded duct board, or contamination that keeps returning after cleaning.
Health considerations
- DIY-appropriate: No household members with allergies or respiratory conditions.
- Professional-only: Anyone in the home with allergies, asthma, or a young child. Contaminants captured under negative pressure matter much more in those households, and DIY agitation has the opposite effect.
One more line worth adding: if you already run a Honeywell or Aprilaire whole-home air quality system, professional cleaning matters even more. Those systems work hard to filter the air, and contaminated ducts downstream of them undo a lot of that effort. Technicians familiar with those systems know how to clean around the equipment without disturbing it.
Kansas City Climate, Housing, and Duct Systems
Kansas City sits in a climate zone that runs HVAC systems hard in two directions. Summers are humid and hot, and winters bring stretches of dry cold. That pattern means your system is moving air almost year-round, and duct systems that run constantly collect contamination faster than systems in milder climates. The humidity also matters: moist air in a duct system encourages dust and debris to stick to duct walls rather than float loose, which makes the bonded layer harder to remove without real airflow.
Housing stock plays a role too. Kansas City neighborhoods span a wide range of build eras, and that variety shows up in duct configurations. Older homes frequently have sheet metal trunks and duct board sections that have been added over decades of renovations. Newer builds in outlying areas often use flex duct, which is easier to seal but more prone to collecting debris in the corrugations. We’ve seen both patterns across the metro. In either case, the level of cleaning required depends on what the duct system actually looks like, not on how old the house is.
Basements matter here as well. Many Kansas City homes have full basements with the air handler and trunk lines running through them, which means the plenum sits in a space homeowners can see but can’t easily clean. When a technician opens the plenum and finds a layer of dust on the coil cabinet or a gap where the trunk connects, that’s information a DIY pass never turns up.
One more local factor: spring pollen loads. Kansas City’s springs send a lot of material into return air, and if your filtration is doing its job, that material ends up in the filter, not the ducts. But when a filter has been neglected for a season, some of it makes it past. Checking filter condition should be part of any DIY routine, and part of any professional visit.
How a Professional Duct Cleaning Visit Actually Works
If you decide to go professional, knowing what to expect makes the visit much more useful. Here’s the general sequence.
- Assessment. The technician inspects the system first, checking duct runs, the air handler connection, registers, and any existing filtration or air quality equipment. This is where problems like disconnected runs or torn liner get identified before cleaning starts.
- Containment setup. Negative-air equipment goes in to keep the duct under vacuum throughout the job. That’s why loosened material gets captured instead of redistributed through the home.
- Cleaning. Rotobrush and Nikro tools work through the trunk runs, branches, and plenum, contacting the duct walls as they go. The cleaning is measured against what the system can actually reach, and the technician reports on any areas that couldn’t be cleaned thoroughly.
- Repair, if needed. If damaged sections turn up, repair can happen in the same visit rather than waiting for a second contractor.
- Documentation. Before-and-after photos give you a record of the system’s condition and what was done.
That sequence is what separates professional cleaning from a shop vacuum and a brush. It’s also why we can’t promise every DIY attempt to clean a full system will produce the same result as a professional visit. The difference isn’t effort. It’s equipment and process.
Common Mistakes to Avoid
- Using a shop vacuum at full power on a return grille with no containment. Shop vacuums pull a lot of air but don’t trap fine particles well, and the exhaust plume often sends dust right back into the room. A HEPA-rated vacuum designed for the job is the minimum safe tool.
- Aggressive brushing on duct board liner. Fiberglass liner breaks down with age, and a spinning brush can tear it apart. If your ducts look like this, stop and call a professional for assessment before cleaning.
- Assuming a register cleaning equals a duct cleaning. Cleaning grilles is useful but doesn’t touch the bulk of your system. Don’t use it to postpone a professional cleaning indefinitely, especially in an older Kansas City home.
- Ignoring the dryer vent because you cleaned the ducts. The two systems are separate, and dryer vent lint is a real fire risk. In Kansas City homes with a long exterior run, lint collects in the bends where a short brush can’t reach.
- Cleaning ducts but not checking the filter setup. A neglected or improperly fitting filter lets debris into the system and undoes the cleaning. Match the filter to your system’s requirements and replace on schedule.
- Missing the return air side. Most contamination travels through returns first. If you skipped them in a DIY effort, you haven’t addressed the real source.
- Not asking what “before and after photos” means. When you talk to any duct cleaner, ask whether they document their own work with photos of your ducts. If they don’t, ask why not.
See the difference
 Before
 After
 Before
 After
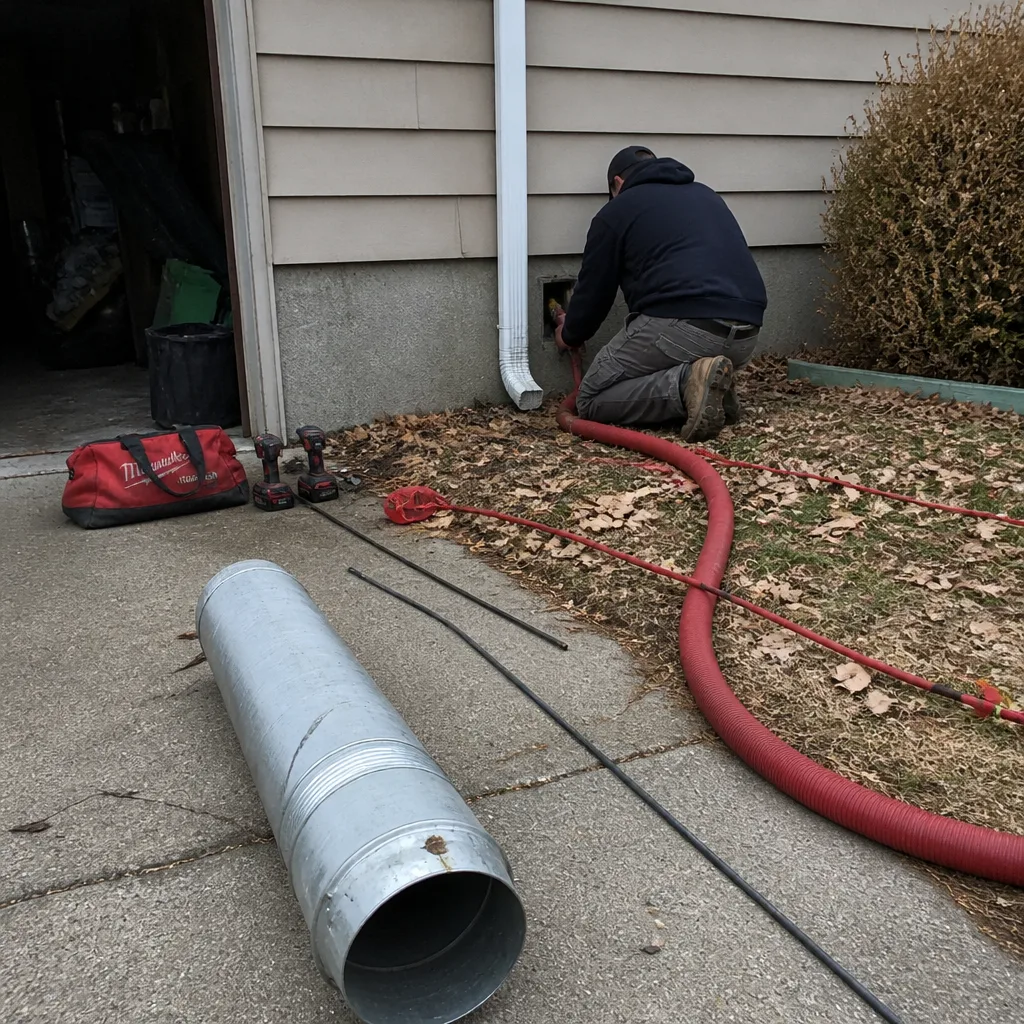 Before
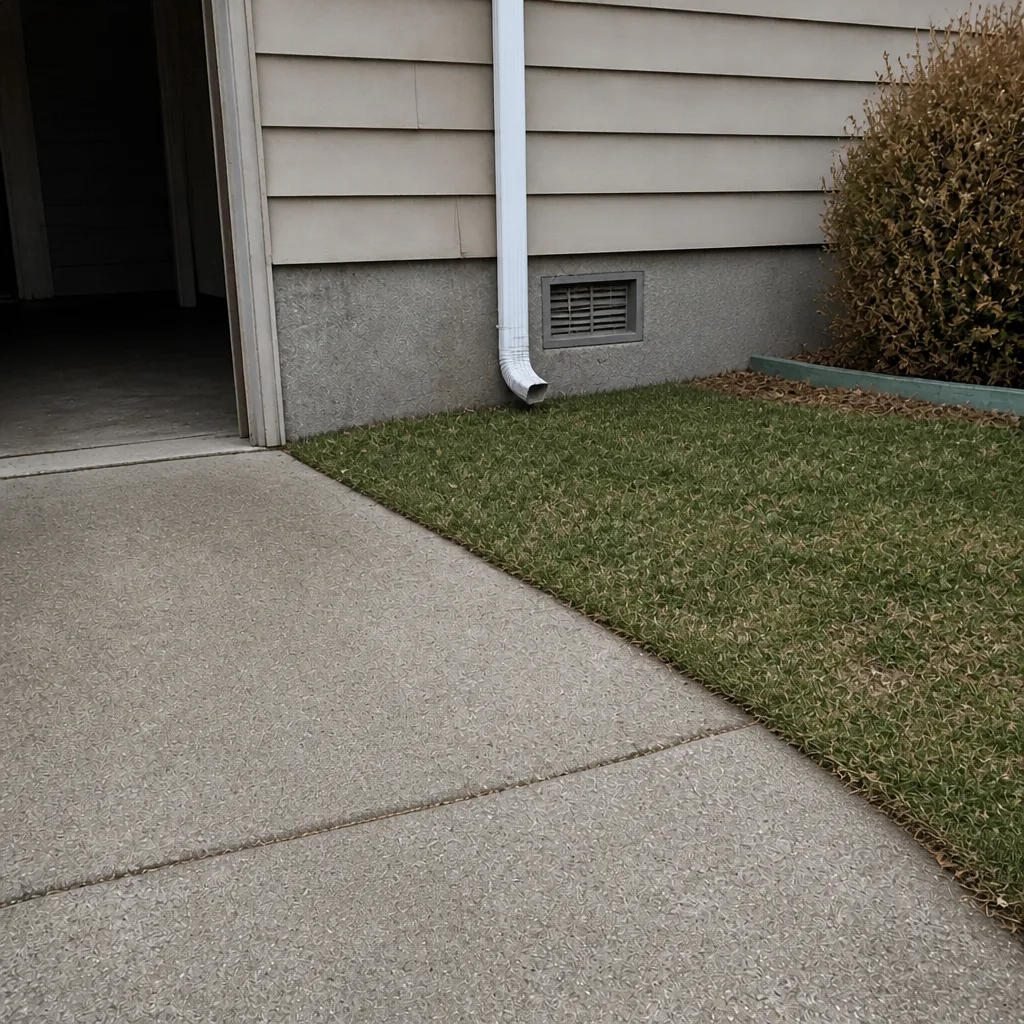 After
When to Call a Professional
Call a professional if any of the following is true: your home has visible dust returning to surfaces within days of cleaning, anyone in the house has allergies or asthma, your duct system includes duct board or older sheet metal, you’ve never had the system professionally serviced, you’ve recently completed a renovation, or you already run a whole-home air quality system and want it cleaned around carefully. If you’re unsure, the assessment itself is the answer. A technician can tell you within a short visit whether your system needs cleaning now or can wait. Millbrook Air Duct Cleaning offers free estimates in Kansas City, and our team can check both the air side and the dryer vent in the same visit so you don’t have to schedule twice. Call (855) 473-1004 to get on the schedule.
Frequently Asked Questions
A shop vacuum can clear surface debris from a register boot or a short branch termination, but it cannot generate enough airflow to scour duct walls or clean a trunk line. For those larger jobs, consumer equipment physically can’t reach the level of cleaning a professional system can deliver.
Most homes benefit from professional cleaning every three to five years, with more frequent service for pets, recent renovations, or household members with allergies. Kansas City’s humid summers and long heating season mean duct systems run hard year-round, so regular service makes a practical difference.
Low quotes often cover only register-level cleaning, sometimes with no containment and no documentation. If the price seems very low, ask what equipment will be used, whether negative pressure is part of the setup, and whether you’ll receive before-and-after photos of your own ducts. Those three answers tell you what you’re actually buying.
Ask for before-and-after photos of your own duct system, not generic marketing images. A technician who uses proper containment and cleaning tools should be able to show you what the system looked like before the visit and after, plus a written report of anything damaged or repaired.
If you’ve already tried and dust is settling on surfaces, run the system fan on low with fresh filters for a day to clear the immediate float, then schedule a professional cleaning. The sooner it’s captured under negative pressure, the better. Call (855) 473-1004 for an estimate and we’ll tell you what the cleaning will involve.
Yes. A dryer vent is a duct system of its own, and lint buildup in it is a fire risk. Short accessible runs can be cleared with a vent brush, but full-length runs and exterior terminations should be handled by a professional as part of routine maintenance. If you’re booking Kansas City duct cleaning, ask about adding the dryer vent to the same visit.
The Bottom Line
DIY duct cleaning has a real place: register maintenance, post-renovation cleanup, and short dryer vent clearing are all worth doing yourself. But the second your goal shifts to actually cleaning the trunk, the plenum, or the duct walls, consumer equipment hits a hard ceiling. The 150 to 300 CFM gap against professional equipment isn’t a matter of technique. It’s a physical limit, and in Kansas City’s older homes with duct board and long basement trunk runs, trying to muscle past that limit usually makes things worse, not better. Use this guide’s decision matrix to sort your situation. Where DIY fits, do it. Where it doesn’t, one call for your entire duct system does the job properly, with documented results and a single team responsible for both cleaning and any repairs found along the way.
If you’re ready to find out what your ducts actually need, call Millbrook Air Duct Cleaning at (855) 473-1004. We answer 24/7. Fast dispatch from 7am to 7pm, Sunday through Friday. Estimates are free, and we’ll walk you through what the visit will cover before anything starts.
Written by the team at Millbrook Air Duct Cleaning.